Understanding Finish Trim: Types, Styles, and Applications
Finish trim plays a pivotal role in defining the aesthetic and functional qualities of interior spaces. From crown moldings crowning a ceiling to baseboards anchoring a floor, finish trim serves as the final touch that unites design elements and enhances the overall ambiance of a room. Its versatility and customizable options make it a favorite among interior designers, homeowners, and professional carpenters alike.
For anyone seeking to elevate their interior decor or undertake a renovation, understanding the various types, styles, and applications of finish trim is essential. This knowledge not only assists in selecting the right materials but also informs installation techniques, maintenance practices, and future upgrades.
If you’re exploring quality finish trim options, and want expert guidance, consider visiting Finish trim resources for comprehensive advice and services. This article aims to guide you through the intricacies of finish trim, ensuring your project achieves a professional, polished look.
Common Types of Finish Trim and Mouldings
Finish trim encompasses a broad range of mouldings and profiles tailored to different architectural and decorative purposes. Each type serves a specific function and lends a distinctive aesthetic to interior spaces:
- Baseboards: Installed along the bottom of walls, baseboards conceal the joint between the wall and flooring. They come in various heights and profiles, from simple flat designs to elaborate ornamental styles.
- Crown Molding: Positioned where walls meet ceilings, crown moldings add elegance and visual height to rooms. They range from subtle curves to intricate designs reflecting historical architectural styles.
- Door and Window Casings: These trim pieces frame door and window openings, providing a finished look while covering gaps and imperfections. Casings vary from minimalist profiles to detailed, decorative styles.
- Picture Rails and Chair Rails: Located horizontally along walls, these mouldings serve both decorative and functional purposes, such as hanging artwork or protecting walls from furniture contact.
- Quarter Round and Shoe Moulding: Used alongside baseboards, these smaller trims hide gaps or imperfections where the baseboard meets the flooring, creating a seamless transition.
- Specialty and Decorative Moldings: Includes intricate trims like dentil mouldings, rosettes, and ornamental panels that lend character and sophistication for custom interior designs.
Choosing the Right Finish Trim for Your Home
Selecting the appropriate finish trim depends on multiple factors—functional needs, aesthetic preferences, room characteristics, and budget considerations. Here are key points to guide your decision:
- Material Selection: Common materials include MDF (medium-density fiberboard), pine, oak, poplar, and polyurethane. MDF and pine are economical and easy to paint, while oak and other hardwoods are durable and lend a premium look.
- Style Coordination: Modern spaces benefit from clean lines and minimal profiles, whereas traditional homes often incorporate elaborate mouldings with ornate details.
- Room Functionality: High-traffic areas like hallways and kitchens may favor durable, washable materials, while bedrooms and formal living rooms can showcase delicate, decorative trims.
- Height and Width: Taller or wider trims tend to make a space appear more grand and traditional; smaller profiles suit contemporary, understated interiors.
Design Considerations for Different Rooms
Every room has unique characteristics that influence trim choices:
- Living Rooms and Formal Spaces: Emphasize elegance with crown moldings, intricate baseboards, and detailed door casings. High-quality hardwood trims or polyurethane options resembling wood are popular.
- Bedrooms: Opt for simpler profiles to create a cozy atmosphere. Consider adding a chair rail or wainscoting to add architectural interest.
- Kitchen and Bathrooms: Prioritize moisture-resistant materials like PVC or specially coated wood trims. Clean lines and minimal profile trims work well here.
- Hallways and Transitional Spaces: Focus on durability and ease of maintenance; moderate-profile baseboards and chair rails are typical choices.
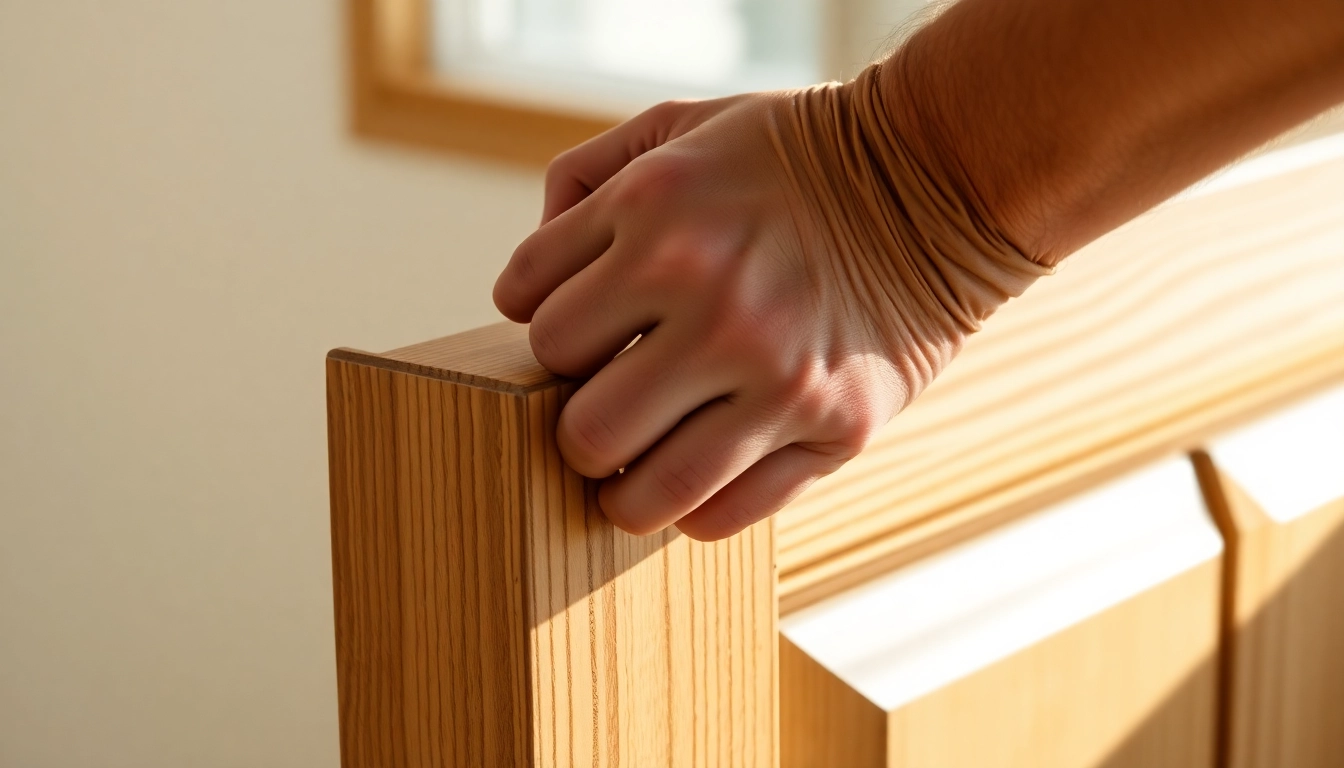
Step-by-Step Guide to Installing Finish Trim
Preparation and Measuring Accurately
Proper installation begins with meticulous preparation. Accurate measurement is vital to ensure cuts fit perfectly and reduce waste. Use a high-quality tape measure, a carpenter’s square, and a pencil for transferring measurements.
First, sketch a layout diagram marking each piece’s length and angle, especially for corners. Measure wall lengths directly, adding a slight allowance for expansion or contraction. For complex corners or miter cuts, use a framing square or digital angle finder.
For example, when installing crown molding, ensure the ceiling angle is identified accurately as most ceilings are not perfectly square, which influences miter cuts. Always double-check measurements before cutting, as errors can lead to gaps or misalignment.
Cutting and Fitting Techniques for Precision
Cutting finish trim requires sharp tools and precise angles. Miter saws are the standard for accuracy, especially for 45-degree cuts needed at corners. For longer pieces, support the trim fully to prevent binding and ensure clean cuts.
When cutting, set the saw to the required angle, and test cuts on scrap material before making the final cuts. Compound miters are necessary for corners where walls meet at angles other than 90 degrees.
Fitting involves dry-placing pieces to verify fit, then making adjustments as necessary. Use shims to fine-tune connections, particularly for uneven walls or ceilings.
Securing and Finishing Touches
Once the pieces fit correctly, secure them using finishing nails or trim screws. A nail gun accelerates the process, but hand-nailing provides more control. Place nails at the back edge of the trim to hide fasteners and countersink them for concealed attachment.
After nailing, fill nail holes with wood filler or caulk for a seamless appearance. Sand lightly for a smooth surface, especially away from joints. Final detailing includes applying caulk along edges and corners to smooth transitions and eliminate gaps.
Best Practices for a High-Quality Finish
Surface Preparation and Sanding
Achieving a flawless finish begins with proper surface preparation. Clean all surfaces thoroughly, removing dust, grease, and residues. Sand the trim surfaces and edges smoothly, using fine-grit sandpaper (220 grit) for a professional look.
Sanding helps paint or stain adhere better and reduces the visibility of imperfections. For MDF or composite trims, ensure edges are smooth to prevent chipping.
Choosing the Right Paint and Finishes
High-quality paint elevates the appearance of finish trim significantly. Opt for interior latex based paints like Benjamin Moore Aura or Sherwin-Williams Duration to ensure durability and a refined look. Use semi-gloss or satin sheens for baseboards and mouldings, as these finishes resist moisture and are easy to clean.
For stained wood trims, select a reputable stain followed by a protective clear coat such as polyurethane for added durability.
Achieving a Professional Look with Caulking and Touch-Ups
Caulking is critical for concealing gaps, seams, and nail holes. Use a high-quality acrylic latex caulk with silicone for flexibility and stain resistance. Apply a thin bead along edges using a caulking gun, then smooth with a damp finger or tool for a clean finish.
After painting, touch up imperfections with additional paint to ensure consistency. Regular inspection and minor touch-ups keep your finish trim looking pristine over time.
Maintaining and Enhancing Your Finish Trim
Cleaning and Routine Inspection
Routine maintenance is straightforward. Use a soft cloth or vacuum with brush attachment to remove dust. For cleaning painted trims, a damp cloth with mild soap suffices—avoid harsh chemicals that may degrade the finish.
Conduct periodic inspections to identify chips, cracks, or peeling paint early. Prompt repairs prevent deterioration and preserve the visual appeal.
Touch-up Tips for Long-lasting Results
Maintaining the perfect look involves simple touch-up techniques. Keep spare paint or stain matching your finish trim on hand. Use fine brushes for small chips or scratches. Lightly sand the area before applying touch-up paint for better adhesion. Multiple thin coats yield a more uniform appearance.
Upgrading or Replacing Old Trim
Over time, older trim may become damaged or outdated. When upgrading, remove the existing moulding carefully and prepare the surface. Choosing modern profiles or decorative mouldings can dramatically refresh a space. If the goal is to replace rather than upgrade, consider using higher-quality materials or specialty finishes to ensure longevity and aesthetic appeal.
Common Challenges and Solutions in Finish Trim Work
Dealing with Imperfections and Gaps
Gaps and imperfections are common in interior trim installation. To address them, use caulk or wood filler and sand smooth. Precision measurement and cutting reduce these issues, but minor discrepancies are inevitable in complex spaces.
Handling Curved or Irregular Surfaces
Curved or irregular surfaces demand flexible materials or bespoke cuts. Flexible trims or pre-bending mouldings can conform to curves, while for irregular surfaces, custom-cut profiles and mitre-free installation methods may be necessary.
Cost-effective Strategies for DIY and Professional Projects
For DIY enthusiasts, selecting prefabricated trim profiles and pre-finished mouldings reduces labor and time. Renting or purchasing quality but affordable power tools like miter saws enhances accuracy. For professionals, bulk purchasing and tapping into supplier discounts optimize costs without compromising quality.